This article explains the new service and edit service window and their different menus

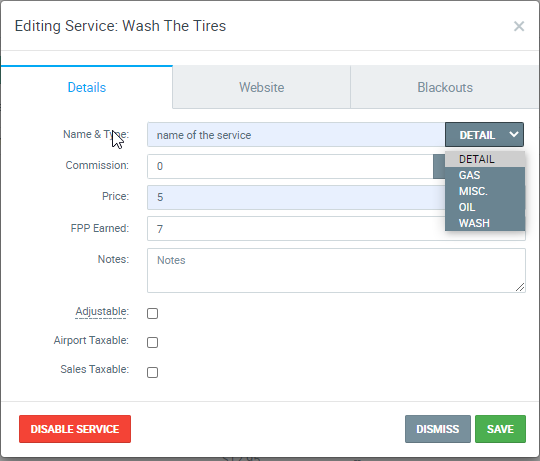
Details Tab:
Adjustable – Designates if the service can be adjusted via the Close Ticket Screen
Notes – Additional notes about the service
Website Name – Displays the name of the service as it will display on the website
Website Description – Displays the description of the service as it will display on the website
Blackout Dates – Displays all of the blackout dates assigned to the service
Website Tab:
Available on Website – Checking this box will allow the service to be selected on the website during the reservation process
Name– This field allows users to specify the name of the service as it appears on the website 
Description – Allows users to enter the description of the service that will be displayed on the website
Order – Sets the order that the services display on the website
Require Vehicle Info – Checking this box will specify that vehicle information will be required if the service is selected

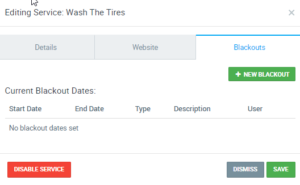
Blackout Tab:
To create a new Blackout Period, click the “New Blackout” button in the top right-hand corner
Start Date – The start date for the blackout period
End Date – The end date for the blackout period
Type – The blackout type for activating the blackout:
Description – The text to display to customers when the service is blacked out
User – The user who created the blackout range
Icons – There are two icons to the right that affect the blackout:
Pencil – Clicking this lets users edit the blackout period
Red X – Clicking this will delete the blackout period
