There are times when it is useful to have the ability to communicate with your customer base en masse. The Email & Marketing system built into netPark allows just that. It’s possible to create custom emails, schedule a time for those emails to go out, and to select the base of customers to email. This guide walks through the basics of setting up a Marketing Campaign.
Creating a Marketing Campaign
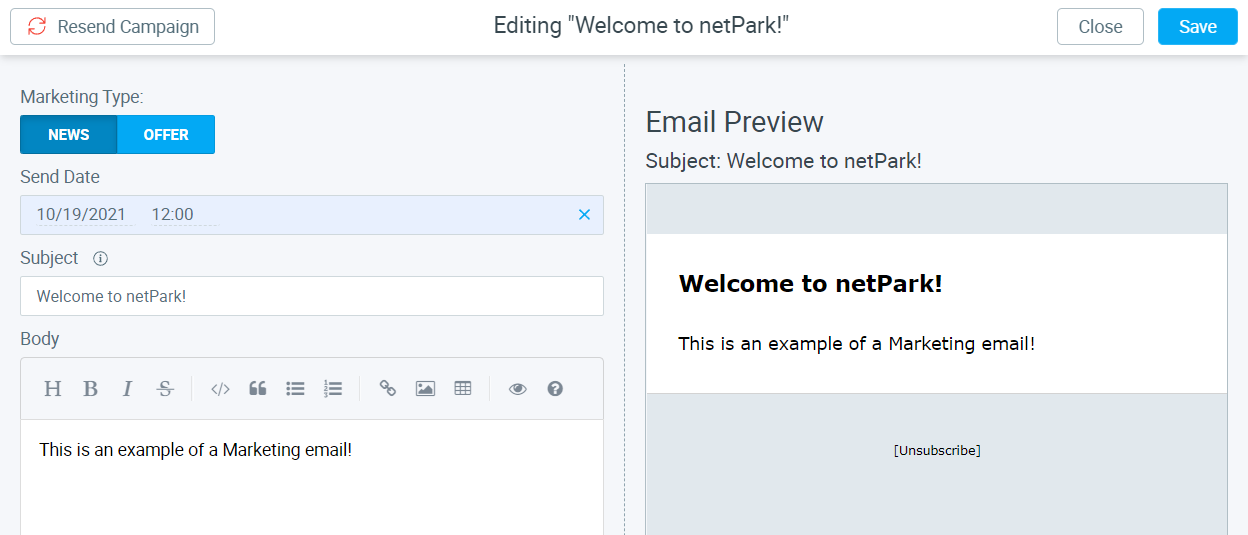
Mass emails are setup as “Marketing Campaigns”. Each campaign can be designated as “News” or “Offer”. Selecting “Offer” in the future will provide additional options that would allow you to tie the marketing campaign to a Voucher Group, otherwise the two are the same. However, customers can opt-out of receiving emails for each category via our Unsubscribe functionality, so it’s best to pick these categories carefully as customers are more likely to opt-out of Offers than News.
- Go to Maintenance -> Marketing
- Click “+ New Campaign”
- Select Category (News or Offer)
- Enter a Send Date
- Fill out the Subject & Body
- Note: Markdown can be used to style the body
- Select Email filters
- Specify Additional Emails and/or Exclude Emails as necessary
- Save
Batches will typically be sent within 5 minutes of the specified Send Date to all emails specified by the filters.
Setting up Emails
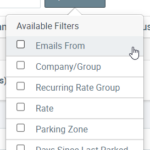
Specifying emails is done by setting the filters to apply for the email search. There are several filters initially available with more that will eventually be added. In order for the filters to work, the Emails From filter needs to be set. This allows you to specify the primary source of the emails: Tickets, Customers, Recurring or Reservations.
Please note: If you are in a multi-location configuration you cannot select “Customers” unless you are a Network Admin. The reason for this is because Customers are shared across all locations and typically you will not want to mass email customers of a different location.
Once a primary source has been selected, the remaining filters can be used to narrow down the emails. In addition to the filters, it’s possible to add emails that are not part of the standard filter results; this may include emails that just don’t match the parameters specified or external emails to reach out to. This can be done in the Additional Emails field.
Any emails added in the Excluded Emails field will not be emailed; this includes emails in the filter search as well as the Additional Emails field.
Resending Campaigns
Inevitably there will be a campaign that needs to be re-sent multiple times. Maybe it’s news about some upcoming garage work or event, but whatever it is you’ll want the capability to send an already sent campaign. To do this, in the Campaigns List search screen, remove the “Exclude Sent” filter to see all previously sent campaigns. Then, click on the Campaign you wish to resend. Once that loads, click the “Resend Campaign” button in the top-left. Enter a date to send on then click “Accept” and hit the “Save” button for your Campaign. Once the date is reached the campaign will be resent automatically.


