The netPark Dashboard is the main hub for the netPark system, featuring at-a-glance metrics about your operation, customizable widgets, and visual graph representations of your data to make it easier than ever to operate and understand your facility.
This page details the overall functionality of the Dashboard page, how to customize your Dashboard and provides a handy guide for customers transitioning from the Legacy Dashboard.
Explanation of the Dashboard and Functionalities
The netPark Dashboard introduces several improvements over the Legacy Dashboard, along with some changes that may make the interface feel different at first glance.
Widget-Based Dashboard Layout
The most significant change is that the Dashboard is now composed of configurable modules, referred to in the system as Widgets.
Widgets give users full control over the information displayed on their Dashboard and how it is organized. Unlike the Legacy Dashboard, which used a fixed layout, the new Dashboard allows you to:
- Move Widgets anywhere within the dashboard grid
- Remove Widgets that are not needed
- Add new Widgets at any time
- Customize the layout based on your workflow
This flexibility allows users to tailor the Dashboard to display the information most relevant to their role.
Responsive Design
Another major improvement is that the Dashboard now uses responsive design.
This means the layout automatically adjusts based on the screen size or device being used. Whether you are viewing the Dashboard on a large monitor, laptop, or tablet, the interface will reorganize itself so the information remains easy to view—eliminating the need to scroll horizontally to see the full page.
Improved Information Organization
Several information sections from the Legacy Dashboard have also been condensed or expanded to provide clearer and more useful data.
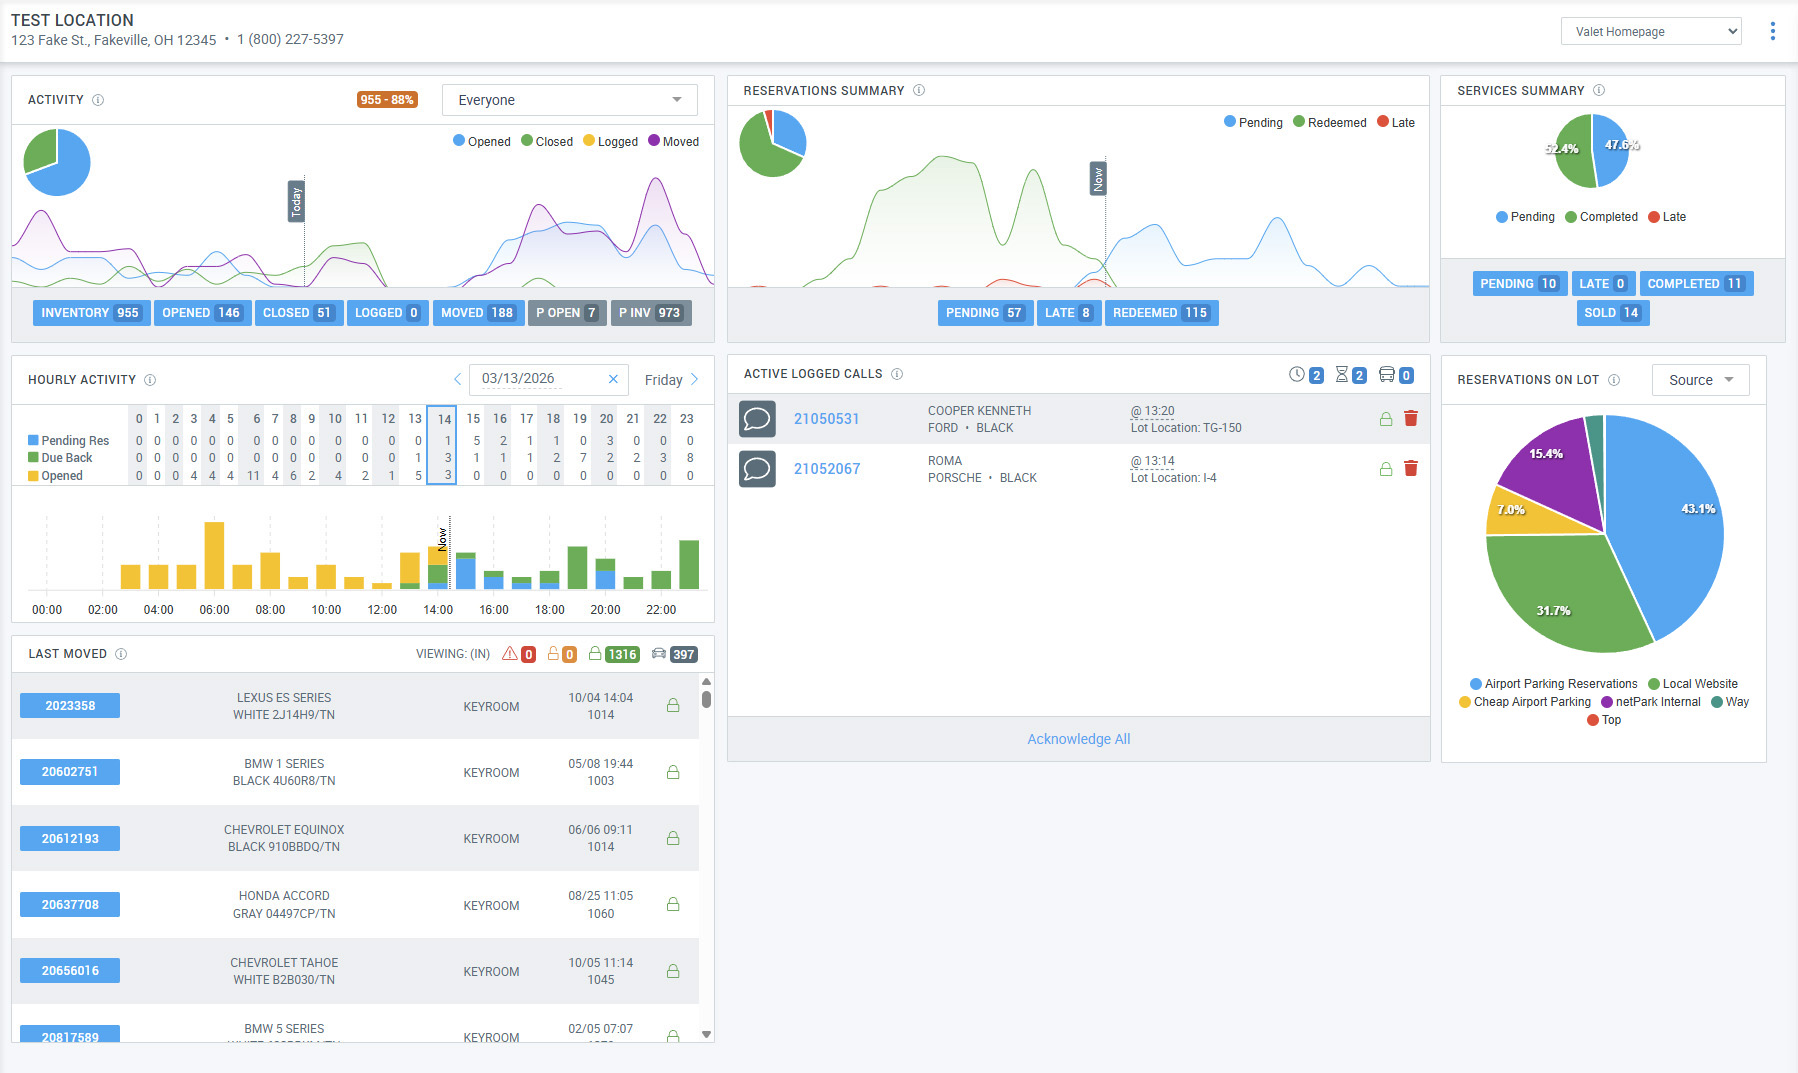
For example, the below two sections have been combined into a single Activity widget:
- The User Activity section
- The Activity for Today section
By default, this widget displays the Activity for Today view. However, by using the dropdown menu in the top-right corner of the widget, you can select a specific user and quickly view their User Activity.
Enabling the New Dashboard
Training on New Dashboard
You can continue to maintain the Legacy Dashboard, at the same time that you are training staff on the New Dashboard.
When you login to the system, you will see a “Try our New Dashboard” in the top right corner. When clicked, this will load the New Dashboard temporarily until you hit the Dashboard again, at which point, it will revert to the Legacy Dashboard. This can allow your staff time to get used to seeing the New Dashboard.
Enabling the New Dashboard Permanently
When you are ready to transition to the New Dashboard permanently, the New Dashboard can be enabled under Maintenance > System Settings > Miscellaneous > Interface > Use New Dashboard as Default.
Creating and Editing Dashboards
Editing an Existing Dashboard
By default, netPark includes 10 preconfigured Dashboards designed around common parking workflows. These dashboards are based on layouts from the Legacy Dashboard screen along with several newer designs that support workflows that have become more common over time.
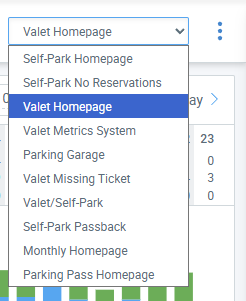
The available default dashboards include:
- Self-Park Homepage
- Self-Park No Reservations
- Valet Homepage
- Valet Metrics System
- Parking Garage
- Valet Missing Ticket
- Valet / Self-Park
- Self-Park Passback
- Monthly Homepage
- Parking Pass Homepage
Modifying an Existing Dashboard
Dashboards can be modified at any time.
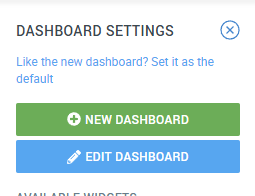
- Click the three dots (⋯) in the top-right corner next to the Dashboard dropdown.
- Select Dashboard Settings.
- Click Edit Dashboard.
Once editing is enabled, you can rearrange widgets by clicking the four-arrow drag icon and moving them to different positions within the dashboard panel.
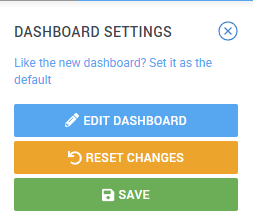
After arranging the widgets as desired, click Save to apply the changes.
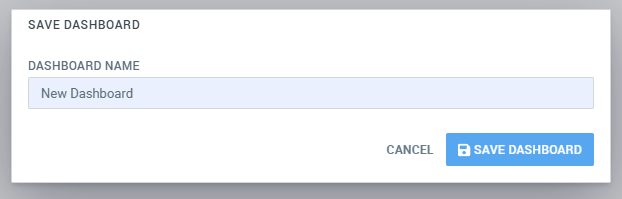
When saving, you will be prompted to either:
- Keep the existing name – This updates the current dashboard layout for all users who use that dashboard.
- Enter a new name – This creates a new dashboard based on your modifications.
Important Note about Editing Existing Dashboards
Any changes made to an existing dashboard will affect all users who are using that dashboard layout.
If you want to create a dashboard tailored specifically to your workflow or role, either:
- Create a new dashboard (see Creating a New Dashboard below)
- Enter a new name when saving to prevent modifying the shared layout.
Reverting Changes
If you decide not to keep your edits, click Reset Changes to restore the dashboard to its previous layout.
Creating a New Dashboard
To create a new Dashboard, click the 3 Dots for the Dashboard Menu and then click the “New Dashboard” button. This will create a completely blank Dashboard and you will now be able to add whatever widgets you want to the Dashboard.
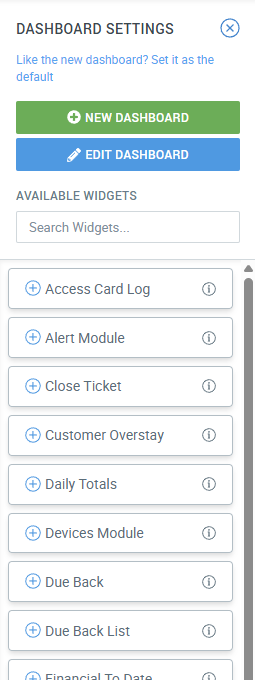
Adding and Removing Widgets
Within the Dashboard Settings Menu, you’ll see a section labeled “Available Widgets”. These are additional widgets that are not currently enabled on the current Dashboard you have active.
These widgets can be enabled or removed at anytime and you can also use the “Search Widgets…” feature to find a specific widget you are looking for or to return all widget’s that have “Reservation” in the name for example.
Adding New Widgets
Adding a new Widget is as simple as clicking the blue plus sign next to the widget you want to add.
Once you do, the widget will appear within the Dashboard panel on the left side and you can use the “Edit Dashboard” button above the “Available Widgets” section to move the newly added widget to where you would like within the page layout.
Removing Existing Widgets from the Dashboard
To remove an existing widget from the Dashboard, you click on “Edit Dashboard” at the top of the Dashboard Settings Menu and then click the Red X in the center of the widget. This will immediately remove the widget from the Dashboard and it will show up within the “Available Widgets” section again, where it can be added again if required.
When removing any widgets, make sure to click the “Save” button to lock in your changes.

Transitioning to the New Dashboard from Legacy Dashboard
Migrating from the Legacy Dashboard to the New Dashboard can feel a bit like a shock, but by breaking down each component, you can see that the overall information being presented isn’t any different than the old screens but just adjusted and with new information added.
Below, we will do a breakdown of the Legacy Dashboard Valet Dashboard, compared to the New Dashboard Valet Homepage.
Legacy Dashboard
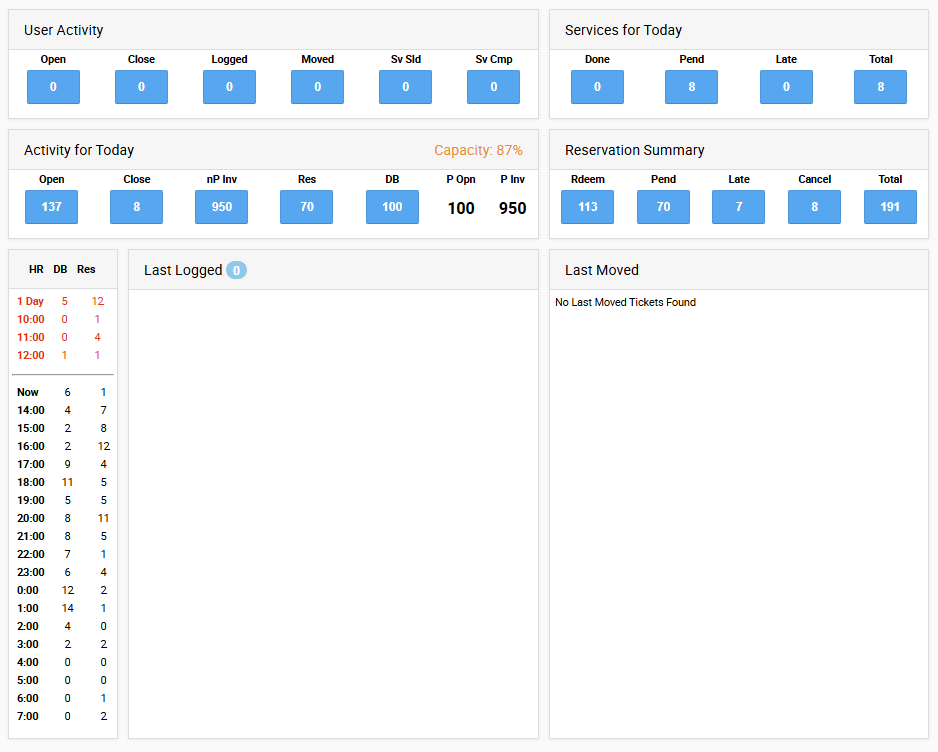
Within the Legacy Dashboard, we have 7 total sections:
- User Activity
- Services for Today
- Activity for Today
- Reservation Summary
- Due Back
- Last Logged
- Last Moved
These sections are all represented on the New Dashboard as well, with an additional “Reservations on Lot” widget, with provides a breakdown of your existing Reservations on the lot and their respective sources, giving you an quick breakdown of which providers are sending the most reservations.
While the layout of the information may feel different and the new graphs can definitely make it feel more busy, all of the fundamental information you are used to is still there and once you adapt to the additional information, you will see that it gives you even greater insight into your operation and provides even better at a glance information.
Additionally, we are adding new widgets all the time, so the Dashboard is able to adapt and change to the ever evolving world of parking in a way that the Legacy Dashboard was never able to do!
New Dashboard
Compared to the Legacy Dashboard, the following is a breakdown of each section and it’s applicable Widget:
- User Activity & Activity for Today = Activity
- This widget combines both sections into a single view, with the default showing all activity and using the User dropdown in the top right, you can select a specific User to see that users activity.
- This widget provides the same breakdown but with a pie chart showing a visual breakdown of the statuses.
- This is likely the most different from it’s original widget but only because it’s been shifted horizontal, rather than vertical. Additionally, you can actually click through multiple days using the calendar in the top right, so you can see other days without leaving the page.
- Almost identical, except there is more room to show additional information from the customers when their requests come in compared to the smaller Legacy Dashboard.
- Almost identical, except there is more room to show additional information from vehicle movements compared to the smaller Legacy Dashboard.