This article gives a brief overview of the Prepaid screens and how to setup prepaid accounts & cards. Prepaid Cards are pre-purchased blocks of days for future use on tickets.

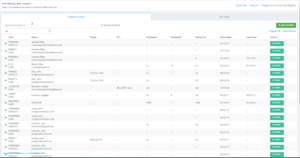
Prepaid Account Screen
How to use the Prepaid Account Screen: Click Register>Gift Cards and Prepaid Accounts
How to Load a Prepaid Account: When clicking on the load action, you will be taken to a new screen that will allow inventory to be added to an account.
In order to create new inventory for a prepaid account, users will need to go to Maintenance, then Prepaid Inventory Maintenance. Users will be able to enable and disable inventory in this section.

Creating a New Prepaid Account
To create a new account, click Register>Gift Cards and Prepaid Accounts>Add Account
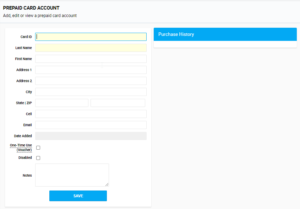
Blue fields are the only required fields that must be filled in.
It is suggested to fill out as much information as you can.
You can click Dismiss to delete changes.
Click Save to keep changes.

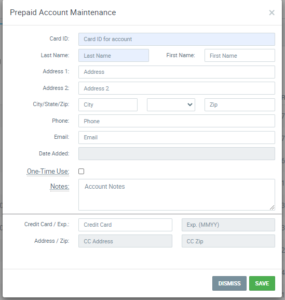
Prepaid Account Maintenance Screen
You must enter the Card ID for the account and personal information of the customer. Only highlighted yellow fields are required.
You can specify whether it is for One-Time use and input the customers billing information. then you must click Save.


Utilization
In order to search for disabled cards, users need to check the Include Disabled option underneath the search.
NOTE: Cards are multi-use and Vouchers are single-use.
You can Load, Refund, check Usage and Purchase History, and get a Prepaid Log.
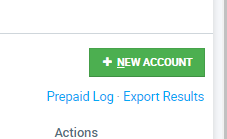
Users can get a log or export a log of all prepaid cards by click the blue Prepaid Log or Export Results under the green New Account button.
You can edit information of a Prepaid Account by clicking on them. Here you can deactivate the Prepaid Account by clicking the Red Deactivate button and clicking save.
