When a customer account has been associated with a Group/Company and made an Administrator they get access to a company tab on the website that gives them additional capabilities.
- Company details – Shows the company name and address
- Payment Methods – Shows on-file cards and ACH accounts. These can be added and removed as needed
- Recurring – Shows recurring that is configured for the group/company as well as any existing invoices. Also allows paying towards the balance.
- Accounts – Shows all accounts associated with the group, contact details and if recurring is enabled or not.
Overview
The primary functionality related to a Group/Company admin account is the ability to manage the payment methods, recurring and loyalty accounts associated with it.
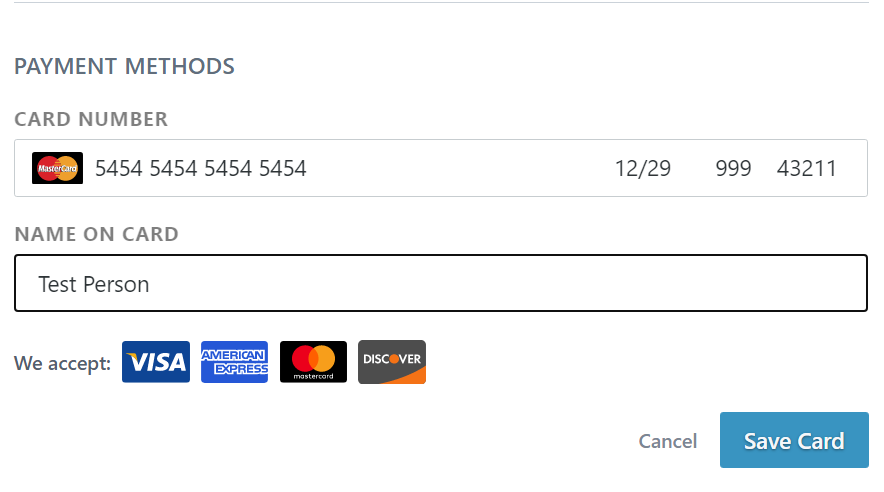
Payment Methods
A group can have at most 1 credit card on-file and 1 ACH on-file. These can be billed to individually for recurring or used as payment for a customer’s ticket when parking. The credit card form collects the credit card number, expiration, CVV, billing zip and the name of the customer on the card. Billing zip is the only information not displayed on the card and is the most common detail that is mistakenly entered. People tend to mix up their personal card’s zip with their business card or vica versa.
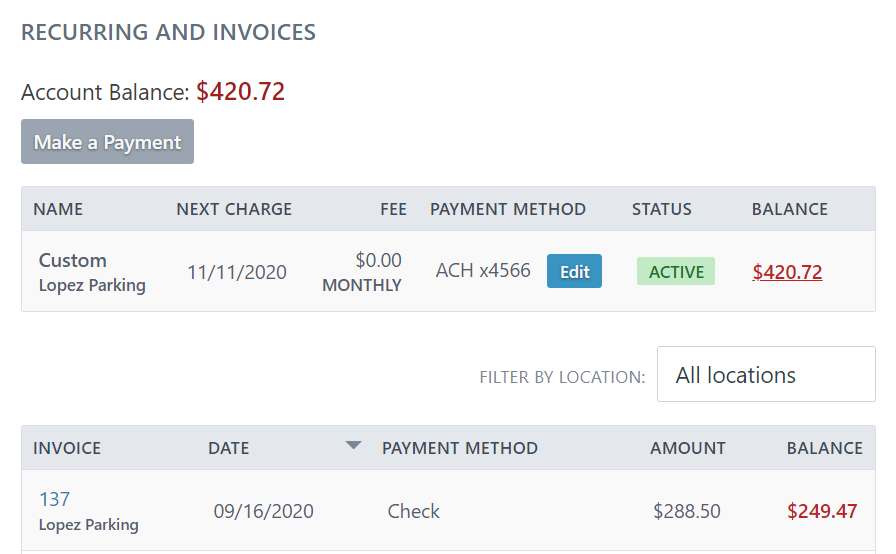
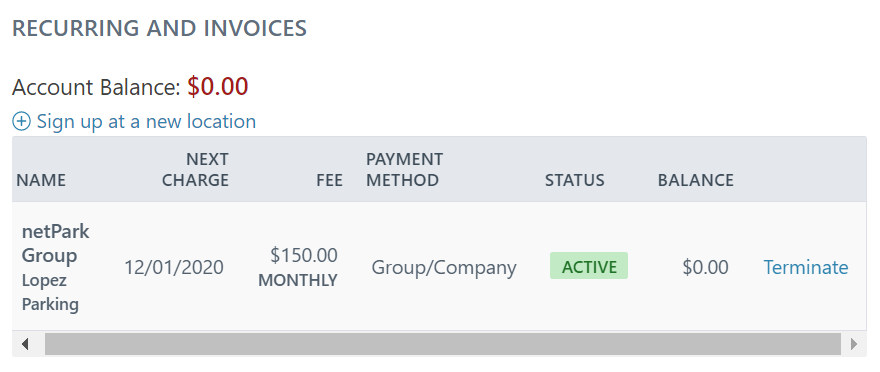
Recurring
Recurring is typically the primary reason for have administrator accounts. Groups/companies can be setup with recurring billing that can run monthly, quarterly, semi-annually or annually. This section displays the recurring details for the group/company, any balances that are still due as well as the invoices that have been generated.
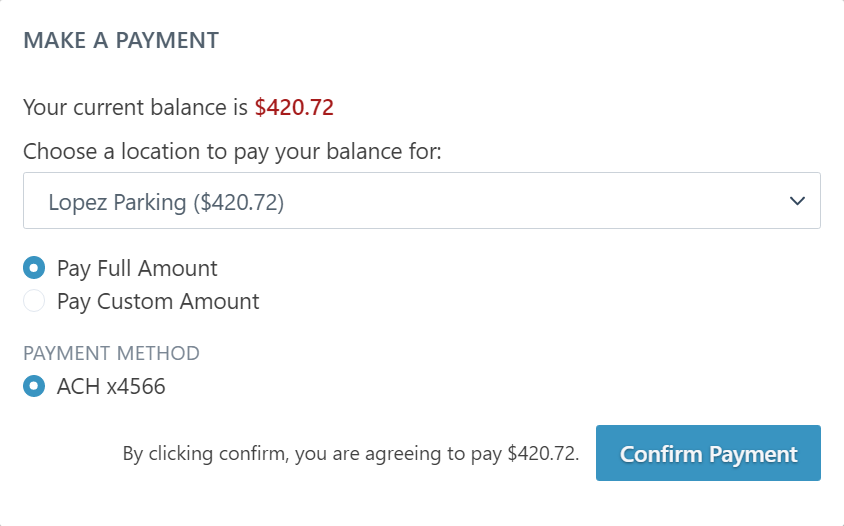
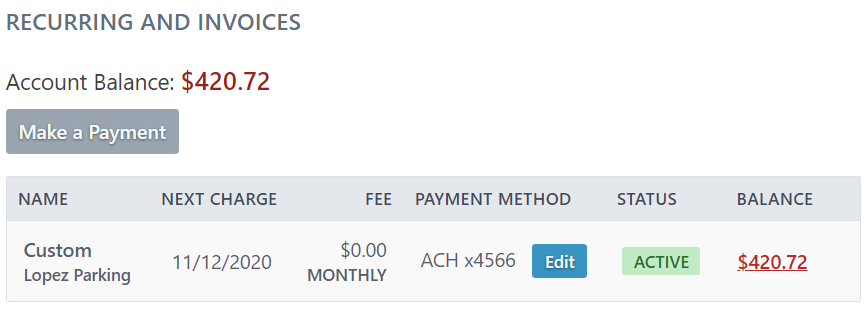
Paying the Balance
The balance on an account can be paid at any time. To do so, click on the balance next to the recurring you want to pay or click the “Make a Payment” button. This will load a modal popup through which you can select the location (if recurring has been setup at more than 1). You can also choose to pay the full amount or a partial amount and the card or ACH account to pay with.

Viewing an Invoice
The invoices section shows all of the invoices that have been generated as well as their current balances (if any). The location selector makes it possible to narrow the results down to a specific location. The table also allows adjust the amount of items to show per-page and paging through the results. Each invoice shows the date it was taken, the amount that it was for and the balance is still has, as well as the method in which it was paid. To view and/or download the invoice, click on the invoice ID. Once it has loaded it’s possible to right-click and “Save as…” the invoice to download it.
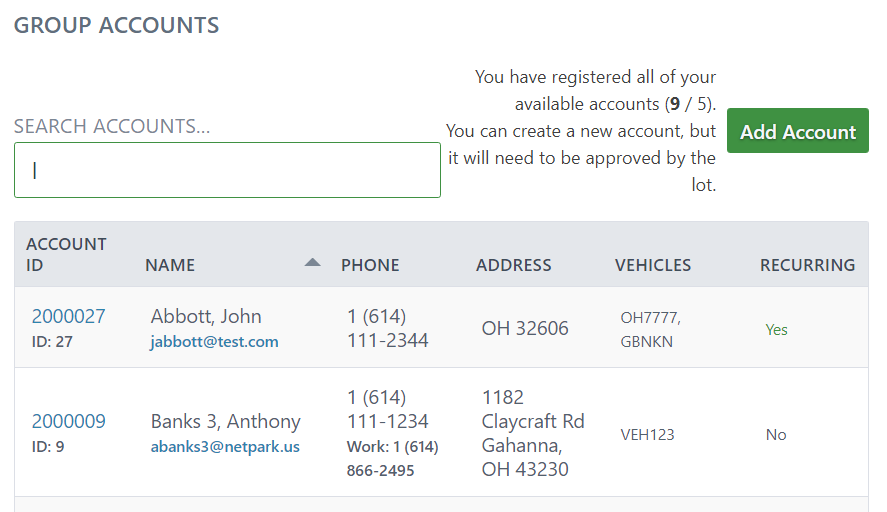
Accounts
The accounts section shows all the loyalty accounts that are associated with the group/company. Each account lists its Permit/Other ID, ID, First & Last name, Email, Phone, Address and Recurring status. Most of these details are searchable via the search field.
Adding an Account
Each group/company can be configured to allow adding accounts as needed (See: Group/Company Administrator Account – Adding new Accounts). If this group/company is configured to be able to register accounts, an “Add Account” button will show up above the Accounts list. Clicking this button will redirect to the “Register Account” screen with a message saying that the customer will be registered to the current company. From here you can fill in all applicable data for the account and choose the appropriate recurring and save.
If the group/company is configured to allow registering to the waitlist, it’s possible to register new accounts even when the max amount of accounts have been exceeded. In this case all new accounts will go to the waitlist for the location administrators to approve.
Modifying an Account
To modify an account, click on its Permit/Other ID value. This will load the account up and allow full access to the account’s history. From here, all invoices/parking history/reservations can be viewed. The account’s contact details can be updated and their on-file cards can be adjusted.
Terminating Recurring for an Account
It’s possible to terminate recurring for an account. To do so, begin modifying the account using the instructions from “Modifying an Account”. Once the account has loaded, scroll to the “Recurring” section. A link will be there that says “Terminate”. Once this has been clicked and approve the account will be terminated. There’s no way currently schedule a termination but will be added in a future update.
Transition Process
If you’re setting up your group/company in the system for the first time the process is pretty straight-forward:
- Login with your account – You should have an existing account that was imported from a previous system. Log in with this account by performing a “Forgot Password” request to receive a new password via your email. If this does not work, contact your account administrator as it’s possible your account may not have been in the import or is not configured correctly.
- Change to your “Manage [Company]” tab
- Put a card or ACH on-file
- Hit “Edit” next to the Payment method under the Recurring section
- Change the payment method to the new method and save
- The system will automatically charge for any existing balance
- That’s it!