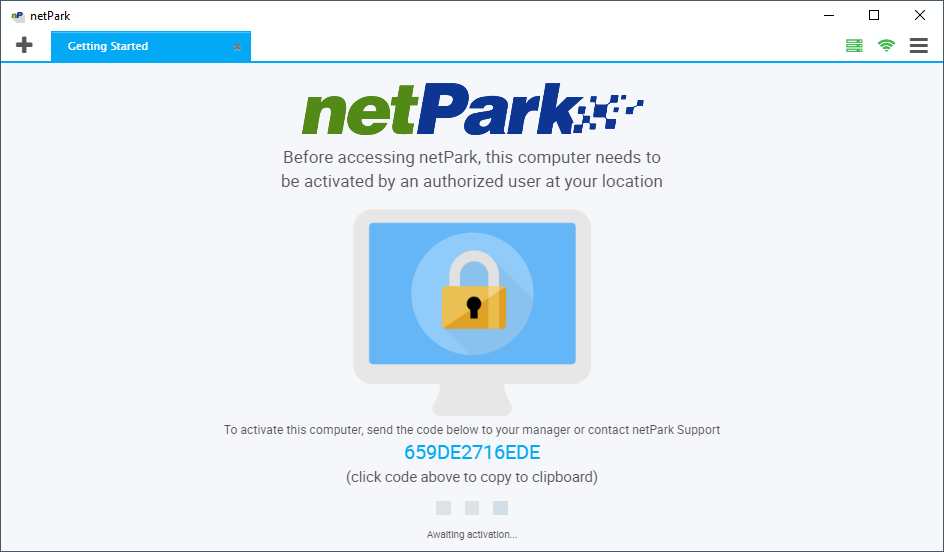
Category: Users, Access & API

User Roles and Permissions

This article shows and explains the different permissions in each group You need to be able to be able to limit permissions of some users. Not every user should have access to everything in the system.  How to edit permissions: 1. Click Maintenance 2. Click Users 3. Select the User to add to a group or select Groups 4. Once in the User account you can select the drop down and choose the group you want to apply  Note: If you want you can choose entire groups ex: Manager, Administrator. Or you can choose individual permissions in each section. Different permission types: Security Permissions Here you will see a list of user groups. You select a premade group so it auto assigns them the permissions that come with that group. General Permissions This is where you can allow users to get permissions for Customers,

Read More »

Creating and Editing User Groups and Roles

This article will describe user groups and what permissions each comes with. It is important to have different types of accounts so that you can separate roles. There are some actions or reports you may not want an entry level or standard level employee to have access to. You can do this my setting different permission levels to different groups.  When a user is put into a group they get the permissions that are set to that group. To learn more about permissions click here. In order to edit groups: 1. Click Maintenance 2. Click Users 3. Click Groups 4. Click on a group to edit the permissions that come with that group or click on the green “New Group” button near the top right of the screen Suggested role types are:   Managers Administrators Accounting Cashiers Valet Custom Defining Roles:Administrator – This is the highest level of

Read More »

Redeeming FPP Through Clients

This article explains how customers can redeem FPP points on client websites Setting Rate FPP Value – The ability to earn points based on time spent on the lot. Note: This is also considered a Rate-by-Rate basis.  To set this up: 1. Maintenance 2. Rates 3. Select Rate 4. fill in the Points per day redemption amount field 5. Click Save at the bottom right Redeeming FPP Points on Client Website If you have the netPark Reservation Modules on your website, customers can actually use their FPP Points while making a reservation. Once this has been set, anytime a customer books a reservation on the website and they have enough points to redeem a free day, adrop-down box will appear where they can select the total number of days they would like to redeem. If you are not sure if which modules you are on contact support at Support@netPark.us

Read More »

Remote Support

This article explains how to setup Team Viewer so netPark support can remote into your machine. If you have the desktop application 1. Open the netPark desktop application 2. Click the Menu button (3 horizontal bars) in the top right 3. Click Remote Support If you don’t have the desktop application 1. Open a web browser ex: Chrome, Edge, Firefox. 2. Navigate to https://www.netpark.us/support/ or click here support 3. If you have a Windows pc select the Windows logo. If you have an Apple pc, click the Apple logo. 4. A download will save to your pc. Run that download.  5. Open the file and allow the program to run. 6. Notify the Support team that you are ready for us to access your session.

Read More »

Adding Devices

Adding Devices into netPark Users that have either the desktop or mobile application will need to register the device within the netPark system. Ways to download the netPark application Call or email netPark support for the download link for the application. For mobile users, the netPark application is available from the Apple app store. Once the netPark application is downloaded, the user will receive an activation code that will be needed to be activated in the netPark system. Registering the activation code (UUID) The user can reach out to their supervisor and have the supervisor enter in the activation code. Call into netPark support and have one of the support staff enter in the activation code into the netPark system. Steps for adding a new device In netPark, go to the Maintenance menu. From here click the Access & Integrations option. In the upper

Read More »
netPark Desktop Application
Getting Started

Installing the Desktop Application

The netPark Desktop Application is Windows-based application that simplifies the process of getting started with netPark. The application provides all of the drivers needed to access hardware as well as a built in PDF view for viewing reports. Each installation of an application generates a unique key that can be associated with one or multiple netPark locations to provide access and can be revoked at any time if needed.

Read More »
Creating a User
Getting Started

Creating a User

User accounts are used to control what access a person or employee has to your netPark location. There are varying levels of controls and these permissions can be assigned to a user account by associating them with a group or by setting each individual permission.

Read More »

Contact us!

Phone Hours
(833) 638-7275
Monday – Friday: 10AM to 6PM EST
Emergency Support – 24/7 for business critical functions

Contact Us
Please use this form to contact us with any non-emergency comments, problems or inquiries. Be sure to provide details. If this is an emergency or requires immediate assistance, please call netPark Emergency Support.